Showing posts with label lab. Show all posts

Tuesday, December 1, 2009

Physical Computing Midterm: Media Controller; "Pancake"


The "Pancake"


Again, a bit late on the delivery of this one.  Apologies to those waiting with bated breath....

For our Physical Computing midterm, we were split into groups and asked to create a media controller of our own devising.  No limits or requirements were put in place, except that the controller would be a physical interface to the arduino, and would controller some external media device.  I was teamed with the wonderful Amy Chien and Chris Alden, and the three of us came to the conclusion that we'd like to build something of an electronic musical instrument.

To start things off, we brainstormed about possible ideas for the media controller's interface.  However, we came up with so many cool ideas that we almost immediately decided that we'd like to do multiple interfaces.  This worked its way into a concept for a modular music table, that would be split into various pieces, and allow three individuals to collaborate using three different interfaces. 


Hauling wood.

The first step we took was to construct the table surface.  We procured two large pieces of ply wood, and cut them into identical circles.  One circle was the table itself, while the other circle was cut into pieces for us to build the interface modules.  Each of us took on one of the modules, and each module used a different physical interface.  The three interfaces were wind based, pressure based, and a conductive sequencer.


All three interfaces.

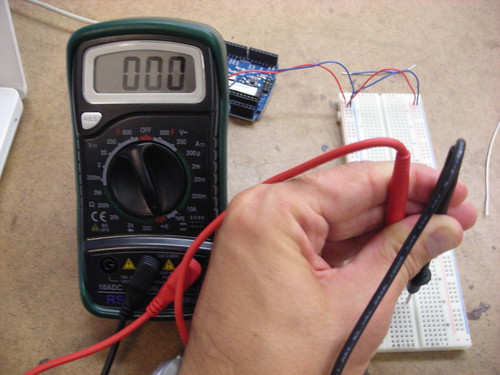
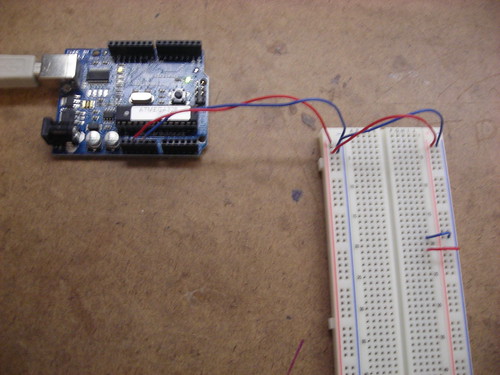
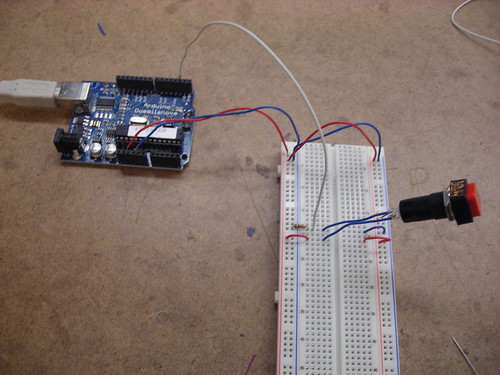
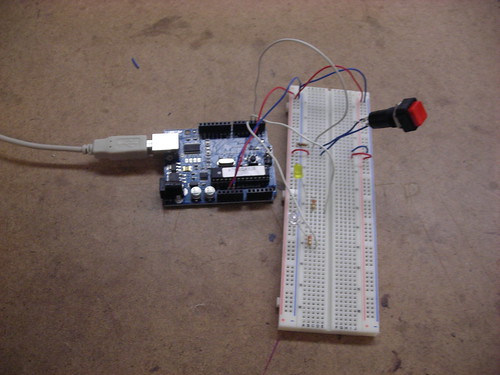
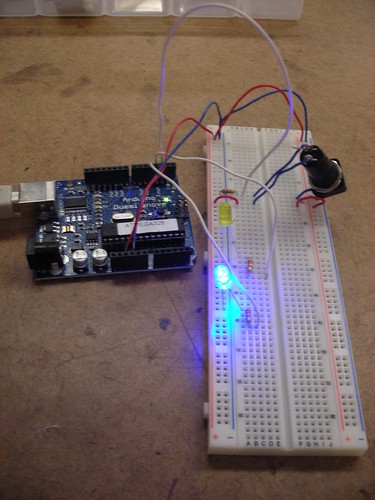
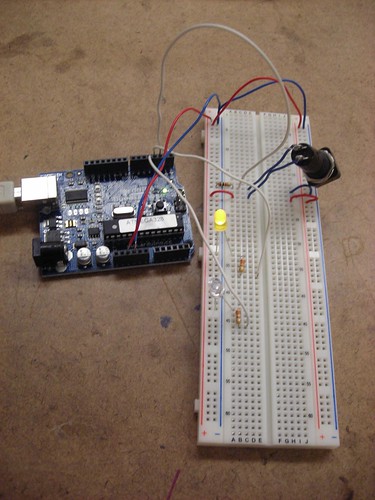
Once we had completed and tested the three interfaces, we brought them together to the table, and unified them into a single instrument.  Each interface had its own arduino, which were then collectively wired into a labtop via a USB hub.  Once all three arduinos were recognized on the computer, we then hooked them up to Max/MSP and created a patch that would listen for the serial values from each interface, and use them to control tonal output.


The pressure pad controlled pitch bending, the wind interfaces controlled the speed of the tone playback, and the sequencer controlled the notes being played over the loop.  Once the patch was loaded, all three interfaces could be used simultaneously to control the computer's sonic output.  You can see a demo of one of our classmates joining us in trying out the interface above.


Finally, we presented our project in class.  Here you can see a brief clip of our presentation, which managed to go off without a hitch.  Midterm, complete. Go Pancake!

Monday, November 23, 2009

Physical Computing Week Eight Lab: Transistors and H-Bridge

Again, a bit late with this one, but better late than never.  In week eight of Physical Computing, we investigated the use of two slightly more complex devices:  the transistor and the h-bridge.


The transistor lab consisted of attaching a transistor to a small motor, and controlling the voltage output to the motor via the transistor.  This differs from a typical input/output in that the transistor can accept a far higher voltage than the arduino microcontroller's 5 volt power supply.  As such, the arduino can still be used to control a device that requires a much higher voltage.  The circuit with the motor can be seen above, while a video of the on/off control can be seen below.


The h-bridge lab consisted of using an integrated circuit known as an h-bridge to control the direction of current.  Put differently:  the motor from the first lab will run in different directions, depending on which way it is wired in the circuit.  The h-bridge allows us to select which direction of current we prefer, thus allowing for a single wiring scheme for the motor, but allowing us to decide (via a switch) which way we'd like the motor to rotate.  You can see a photo of the circuit above (the h-bridge is in the center), with a video of the bi-directional motor control below.


Tuesday, October 27, 2009

Physical Computing Week Seven Lab: Multiple Serial Output

Building on last week's serial lab, this week took the same principles and applied them to multiple, rather than a single, serial data source.  In this case we took a circuit containing two analog and one digital sensor, and sent the output to a Processing script.


Here's a picture of the circuit - as you can see, there are two analog inputs (the potentiometers) and one digital input (the push button).  As was noted in the lab, this set of inputs represents the same inputs as a typical one button mouse.


As such, the inputs were used to control a circle on screen, with the push button turning the circle on and off.  You can see this control at work in the video above.


After getting the script working with a streaming serial input, we then rewrote the arduino side to wait for a handshake before it started sending data.  Once it received the handshake, it would send only one set of data, until it received a request for another set.  This serial behavior can be seen in the video above.


As mentioned at the top of the lab, the principles put to work here are very similar to the ones from last week's lab, but simply expanded to allow for multiple inputs.  This, in turn, allows us to use the Arduino's serial output in a far more versatile and productive manner.

Tuesday, October 20, 2009

Physical Computing Week Six Lab: Serial Output

Through no fault of ITP's, this week's lab was perhaps the most redundant task I've undertaken since starting the program.  This is largely due to the fact that when I started working at Dolby Laboratories, my first sizable task was to write almost the entire software stack for serial communciation on the Dolby Digital Cinema system.  As such, doing so in a basic manner on the arduino/processing platform ended up being pretty trivial.  That being said, it was fun to see it working, and to discover that processing and Dolby use the same serial back end libraries - RXTX!


Because of my strong familiarity with the material, I designed a relatively simple circuit employing a potentiometer to send analog data over the serial port.


Doing a read on this data was also relatively straightforward, allowing it to be piped into a graph in processing, which can be seen above.


Yay!  Serial communication!

Monday, October 5, 2009

Physical Computing: Week Four Lab

In week four, Physical Computing turned to using our analog output to work creating productive output products.  This included two labs, creating output in two forms.  The first was a servo lab, which took an analog input and mapped it to the physical movement of a servo.  The second was a tone lab, which took analog input and mapped it to the output of a small speaker.  Both demonstrated that an analog sensor can easily be used to create tangible output effects.


In the first lab, we wired a circuit to include an analog sensor and a servo.  In this photo we can see this circuiy implemented, with a flex sensor in place to control the servo.


Once the circuit was completed, a simple upload of the lab's arduino program yielded the behavior seen in the video above. Either a manual pulsing or the arduino servo library could be used, and the same behavior resulted. In short, the flex sensor's analog output controls the position of the servo.


The second lab followed a similar concept, but instead used the sensor to control tone on a speaker. I chose to use a potentiometer for my control, so that dialing it would control pitch. This circuit can be see above.


Once wired, this circuit also required a small arduino program that would map the analog inputs to an analog output value for the speaker. In the video above, the potentiometer is being moved, and the resulting speaker tone changes in turn.

Tuesday, September 29, 2009

Physical Computing: Week Three Lab

This week's Physical Computing Lab consisted of learning some basics about electricity.  A lot of it felt like review from PSSC Physics, but maybe that's just me.  That being said, I also dug in and did some soldering for the first time in about a year, so that was cool.  I also learned a thing or two about my multimeter's sensitivity, which is apparently one decimal place shorter than the one owned by Tom Igoe.  Read on for all the glorious excitement.


The first bit of the lab involved getting a DC power source connected to the bread board.  While it technically could have been achieved without soldering, I decided that messing with a power supply was silly-slash-stupid.  So, I put my soldering chops to work and soldered the power jack, as seen above.


Once the power supply was attached via the power jack, we setup a small circuit involving an LED and a voltage regulator.  In this photo you can see the voltage meter keeping the voltage steady at 5 DC volts.  This setup would be the testbed for our various voltage and amperage experiments.


In the above two photos you can see some voltage tests on both the resistor and the LED. You can see that the two have different voltage consumptions, but more importantly that the summation of the two is equal to the five volts being put out by the voltage regulator.

Our next step was to set up two LED's in series.  As you can see from this photo, the LED's lit, but to a lesser extent.  From the voltage readings in these photos we can see that since the LED's were forced to share voltage, each consumed less power than the single LED setup.  This is a result of the series circuit. When I attempted to use three LED's, they simply did not light due to lack of voltage.


The next step involved a similar setup, but in parallel. In this case the LED's have a uniform voltage of 1.95. This reading can be seen here on only one LED, but was the same for all three.


Next I made an attempt to measure amperage, and was met with no reading. In fact, I later determined that the setup was working (as evidenced by the lit LED), but that my multimeter was simply not on a sensitive enough setting.


The final step was to use a potentiometer to limit voltage to the LED.  In the above photos we can see the potentiometer in three positions (on, half, and off) and the resulting voltages.  This is a clear illustration of the potentiometer acting as a voltage divider.  You can also check out the video below for a "live action" take on this electrical phenomena.


Potentiometer Controlling Variable Voltage On An LED from Hippies Are Dead on Vimeo.

Tuesday, September 22, 2009

Physical Computing: Week Two Lab

Week two of physical computing sees us engaging with analog input devices, and using that input to drive an output.  Specifically, we were asked to use a range of analog input devices to drive an LED.  I chose to keep it simple and use a potentiometer and a photo sensor to drive a simple one LED setup.  Not exactly intricate, but definitely to the point and capturing the essence of the idea.


The first task was to wire a potentiometer to the breadboard.  In this picture you can see the potentiometer wired and connected to analog I/O zero, in this case as an input. After adding the potentiometer, I then added the LED to digital I/O nine, and set this port to output mode. You can see the LED in this photo as well, ready to act as a reflection of the potentiometer's position.


Using the provided lab code, the setup was validated, and the potentiometer used to control the LED. This can be seen in the video above.


Following the use of the potentiometer, we were encouraged to use another analog sensor to deliver a signal to the LED. In this case I chose a photosensor that comes with the ITP materials kit. At first (as can be seen in the above video), the sensor gave me passable, but suboptimal, results.


I discovered this was due to the fact that I was using an inappropriate resistor, and not massaging my input data in any way. By switching the resistor to more appropriately match the rating on the photosensor, and furthermore mapping top and bottom data input, I managed to coax the LED into reacting more smoothly to the input.

While this week's lab was certainly interesting, it seems like it could be easily combined with week one's lab.  The principles are largely the same, and making the jump from digital to analog input isn't a large one.  That being said, there is far more potential for experimentation with analog sensors that I failed to take advantage of:  I'm planning on kicking that into gear with next week's Stupid Pet Trick.

Tuesday, September 15, 2009

Physical Computing: Week One Lab

Week one of Physical Computing brought on two labs that were both largely associated with familiarizing ourselves with the environment we'll be working in all semester.  Specifically bread boards, the Arduino microprocessor, and basic circuits.  As such, the labs involved more hammering out the basics than they did pushing the boundaries.  That being said, with the addition of my Applications presentation this week, I wasn't exactly heartbroken to have PComp go easy on my creative side.  

The first section of the lab consisted of familiarizing ourselves with the breadboards from our tool kit.  While it's a pretty basic concept, it's still worth going over and comprehending.  Basic points are as follows:
  • The bread board consists of two parts: powered columns and isolated rows
  • Each powered column is connected along the length of the board on the left and right sides.  If these are connected to a power source and board, they then provide power to use in circuits.
  • The isolated rows go from top to bottom in the middle of the board, and are further isolated by a divider down the middle.  This means for each row you have two sides that are isolated for use in a circuit.  The photo above illustrates a multimeter validating the continuity of a single row.
The next step was to actually power the board.  This requires a 5 volt power supply and a ground.  Above, you can see breadboard prepared and powered via the Arduino.  Note that I've also wired two rows to use the power source: one row is a ground row, the other is a powered row.

 
Once the board was powered, the next step was to add a switch.  I decided to use a standard retail switch, and wire it to the left side of the board.  The switch was connected (via the white cable, above) to a digital input of the Arduino, which would allow us to programatically track the switch's state.  This required using two rows, and the addition of a resistor.  The addition of the resistor ensures that the switches state will be reflected over the digital input wire, rather than just disappearing over the ground.
With the switch implemented, it was time to add LEDs to the board.  The Arduino program would track the state of the switch, and modulate the LEDs accordingly.  Above you can see a picture of the LEDs wired to the Arduino's digital outputs.  The resistors in place assure a minimal load on the LEDs in order to increase their life.

Finally, the setup was put to work:  I compiled and uploaded the program from the lab to the Arduino, and proceded to enable it.  Depending on the state of the switch, a different LED would be lit.  You can see the two states above, and a video of the working mechanism below.


Once the basic switch setup was complete, we were entreated to contemplate other possible applications of basic digital I/O, particularly with regard to a combination lock.  Upon considering this, most of my ideas drifted into the range of abstract or shape based locks.  While most combination locks in the real world tend to be based around numeric key pads, it seems that one could be constructed based more soundly around interacting with a grid of switches that were either uniform, or based on a wide array of shapes and sizes.  This would have the advantage of being more secure due to its abstract and spatial nature, and also being easier to remember for individuals who are already inundated with a large number of numeric codes in their lives.  One example of this implementation that already exists in the digital world is the gesture based security in the Android mobile OS.  However, there's no reason this same concept couldn't be applied to physical locks as well.